Faking Volumetric Fog in Unity
Background
I recently started work on a new game that I can for once in my life say I fully intend to finish. It's panning out to be a rogue-lite wave-defence FPS with a unique twist in that the only weapon available to you is a flare gun. The genesis for this strange take on the FPS genre was when I recently attempted a flare-gun-and-blowtorch only play-through of Ubisoft's Far Cry 3 (Which was surprisingly fruitful because of a bug in the way that FC3's flares apply burn-damage i.e. constantly).The setting for this game, as of current, is on a small rocky island featuring a lighthouse. Aside from having a huge search light, I needed the lighthouse's bright beam to be visible to the player as it would likely be in real life. In reality, this is caused chiefly by two effects: lens flare and in-scatter.
Initial Implementation
In the context of Unity, this lens-flare cam be emulated with the now-removed lens flare system (Which I recreated using a billboard sprite that scales with distance) and with post-processing bloom, to which I added a dirt texture to give the bloom a more physical, grounded look.In the interest of performance, I can't justify actually using any type of true in-scatter/volumetric lighting for the cone of light one would expect to see from a lighthouse beam (Sorry Dad). I opted instead for a simple cone mesh with a transparent, emissive material with a simple black-to-white gradient [fig. 1] fed into the alpha transparency of the material.

[fig 1.]
The result can be seen below [fig. 2]. Note the crispness of the cone, and from certain angles the sheer white tips at the edges of the cone [fig. 3].

[fig. 2] - The gradient applied to the transparency.

[fig. 3] - The white artefacts toward the tips and edges.
Aside from the latter being obviously undesirable, I believed that the crispness of the beam would be better suited to a low-poly "lo-fi" styled game (Think Sokpop games, or Untitled Goose Game), which is what I was originally planning for this project but later decided against, so as to test my computer graphics knowledge more thoroughly.
Revised Implementation
To remedy these artefacts, I thought about how volumetric in-scatter would look in real life - denser toward the point of origin, and toward the centre of the cone. The first of these parameters was already being achieved by the gradient texture - the transparency is greater the farther down the cone a pixel is.
In order to create the illusion of density toward the centre of the cone, my first thought was to use the cone's geometry's normals compared to the view vector to multiply onto the gradient's transparency.
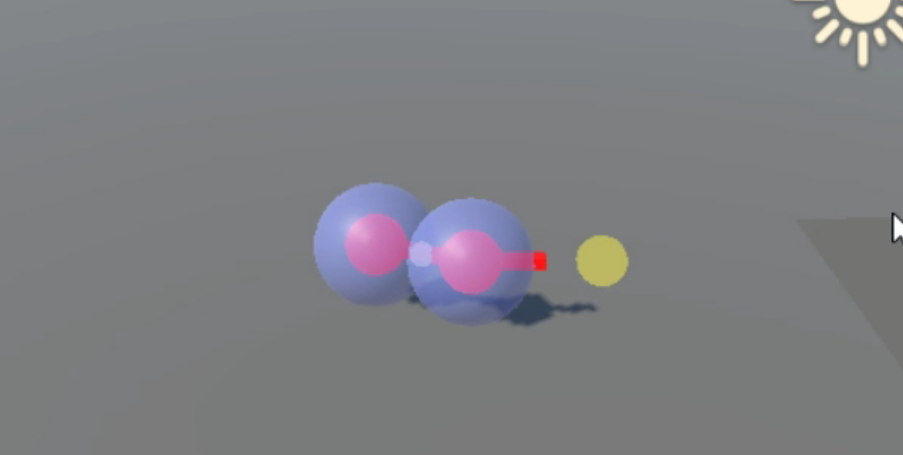
After some toying, I recognised that the dot product was respective to vector length, so I had to normalise both geometry normal and view vectors before calculating the dot product [fig 4.], and then decided on setting the shader to use double-sided culling (i.e. render both sides of the mesh, inside and out - by culling neither the frontfaces nor the backfaces). After drawing both sides, it became apparent that due to the dot product being directly multiplied on the gradient, the backfaces had a negative dot product due to being on the other side, so I added instead used the absolute value of the dot product, so that only the edges would be reduced [fig. 4], which immediately made the cone look more "volumetric" [fig. 5].

[fig. 4] - The shader graph, showing the steps to getting the angle of the face to the view.

[fig. 5] - The result of this dot product multiplied onto the gradient.
Finally, this cone was startin' to look foggy. While this was a good result and softened the edges, I wanted more artistic control over the degree of blending, so I added a black-to-white gradient in the shader graph and used the absolute dot product as the time/position input to a gradient sampler [fig. 6], effectively allowing me to change the falloff from raw and linear to an adjustable gradient.

[fig. 6] - the nodes used to actuate the dot product to allow for artistic control over the blending.

I decided to stop here, as I felt the result looked good enough for the game [fig. 7], though as I write this I realise there's much more room to add to this in future. Some considerations for future implementations of this would be blackening the gradient at the very start, so as to not have such an obvious intersection between the lighthouse's window bars and the cone, and I could scale the brightness/transparency of the cone as a whole as it faces more toward to player, so that the bloom post processing filter creates a brighter blur on the screen.
For those of you looking to create this effect yourself, the full shader graph is available below:

Other Notes:
- View direction (World Space) feeds into a normalise node
- Geometry normal vector (World Space) feeds into a normalise node
- Dot product of output of both normalise nodes feeds into an absolute node
- Absolute node feeds into a sample gradient node, along with a gradient node (Play around with this to get the exact degree of blurring you want)
- Multiply the gradient sample node output with the gradient texture [fig. 1] and output to material alpha
- Make sure the two-sided and transparent settings are used!
- The cone should be modelled as a cylinder with one end scaled down, and with loops cuts along the length (see below) otherwise the geometry normal smoothing won't work as well
- The cone should be UV unwrapped as below, to avoid distortion.


Comments
Post a Comment